Hello, I'm hori, a Jicoo engineer.
Today, I would like to introduce one of Jicoo's service integration features, "Notion Integration" implementation.
Introduction
I would like to introduce Jicoo's Notion integration function.
The Notion linking function includes "reservation linking" and "form linking," but we will proceed with "Notion linking" = "reservation linking.
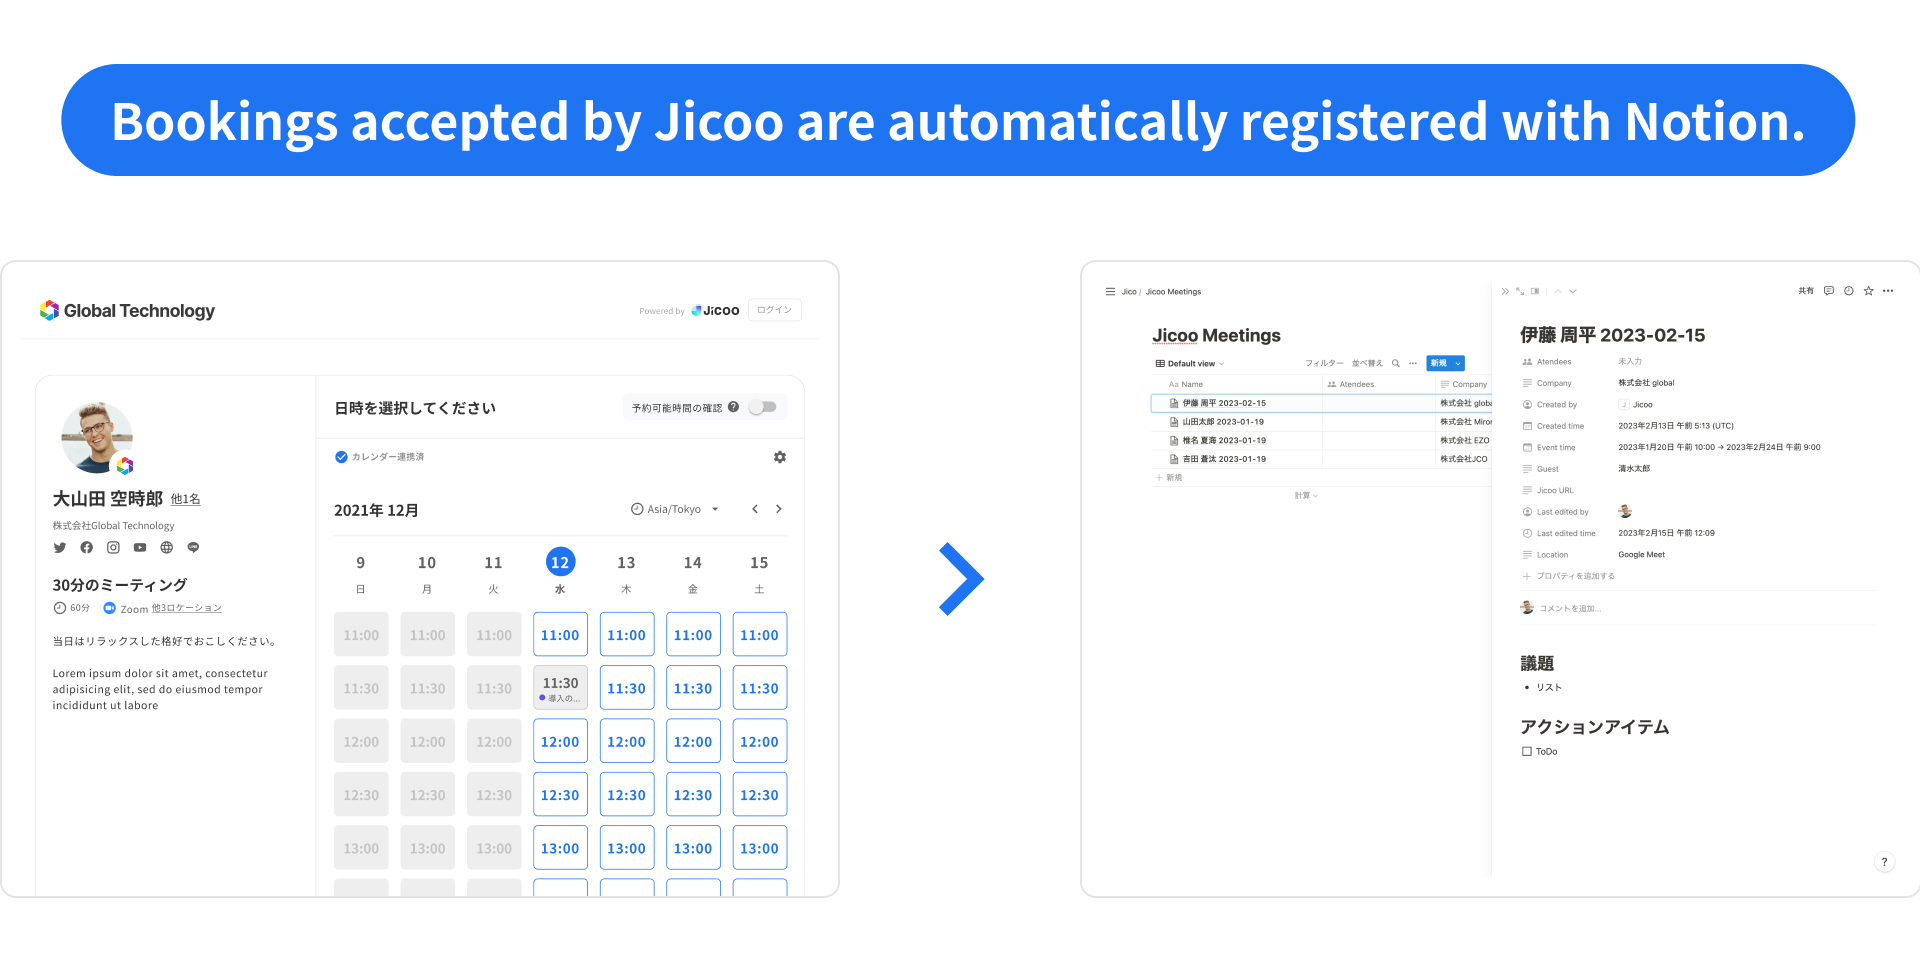
The Notion Linkage function allows you to create a new Notion page in the specified Notion database and post the reservation date, time, and other information regarding the reservation submitted by the guest to that page.
When a reservation is made, the creation of the appointment and the Notion page is seamless, contributing to increased customer productivity.
In addition, the Notion page and the appointment page are automatically linked, allowing for hassle-free management of meeting minutes and other information.
Linkage Flow
The general flow of Notion integration is as follows.
Notion OAuth
Select the Notion database to be linked.
Select the properties of the Notion database to be linked.
Create a new Notion page at the time of booking.
Update the Notion page based on the settings.
In this article, we will mainly explain the processes related to the Notion API. (Nos. 1, 2 and 4)
Notion OAuth
In order to use Notion's API, create an integration on the Notion Developer Page.
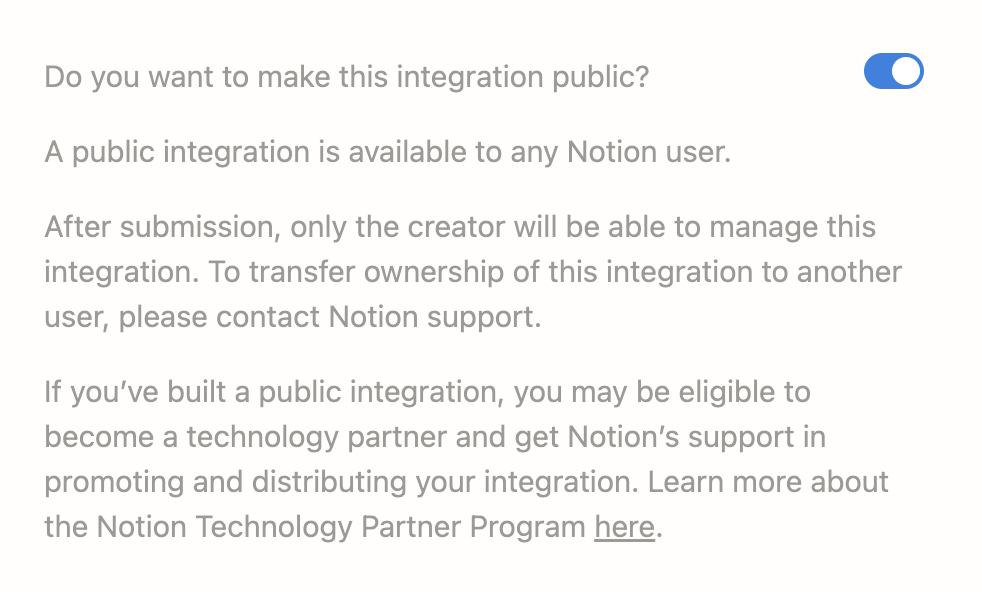
In this case, we will create it as a public integration since it will be used by an unspecified number of Notion users.
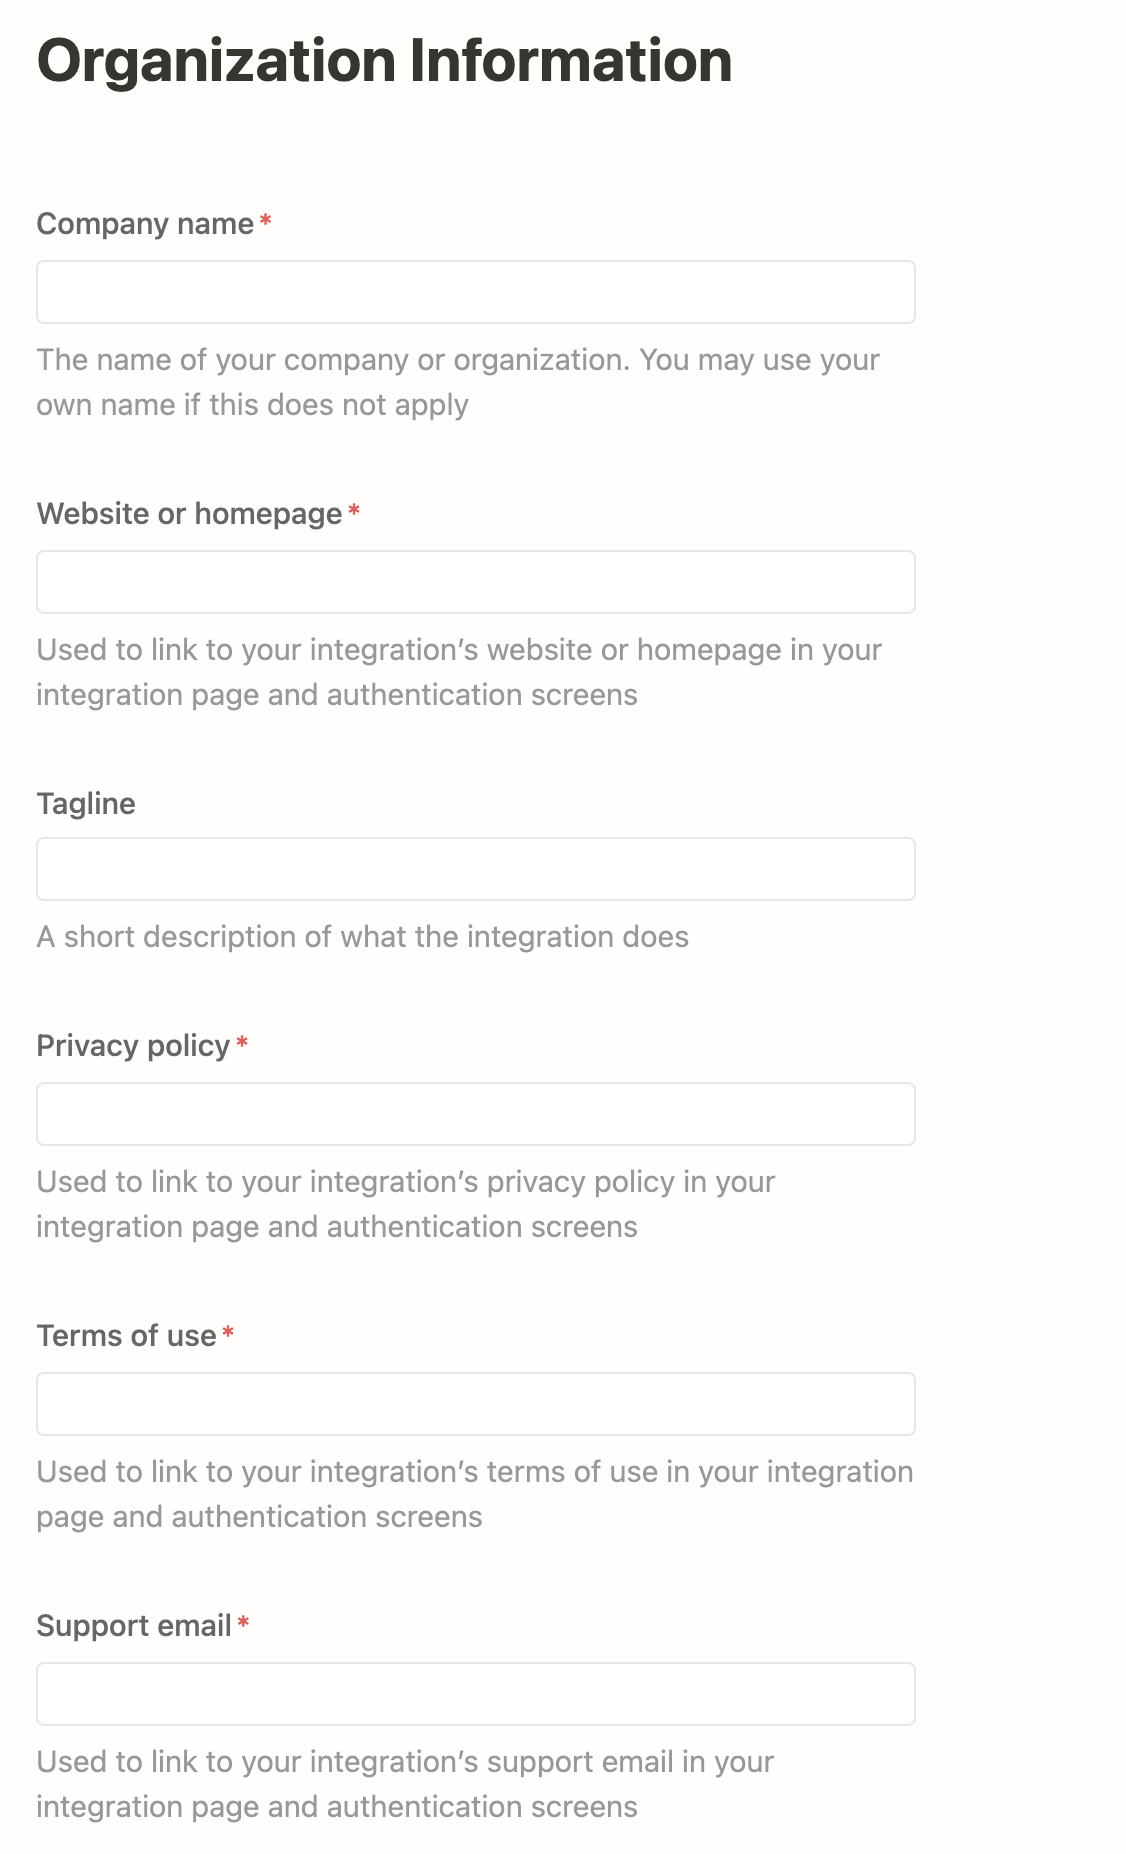
To use public integration, you will need to submit your company name, website URL, privacy policy URL, terms of use URL, and support email address.
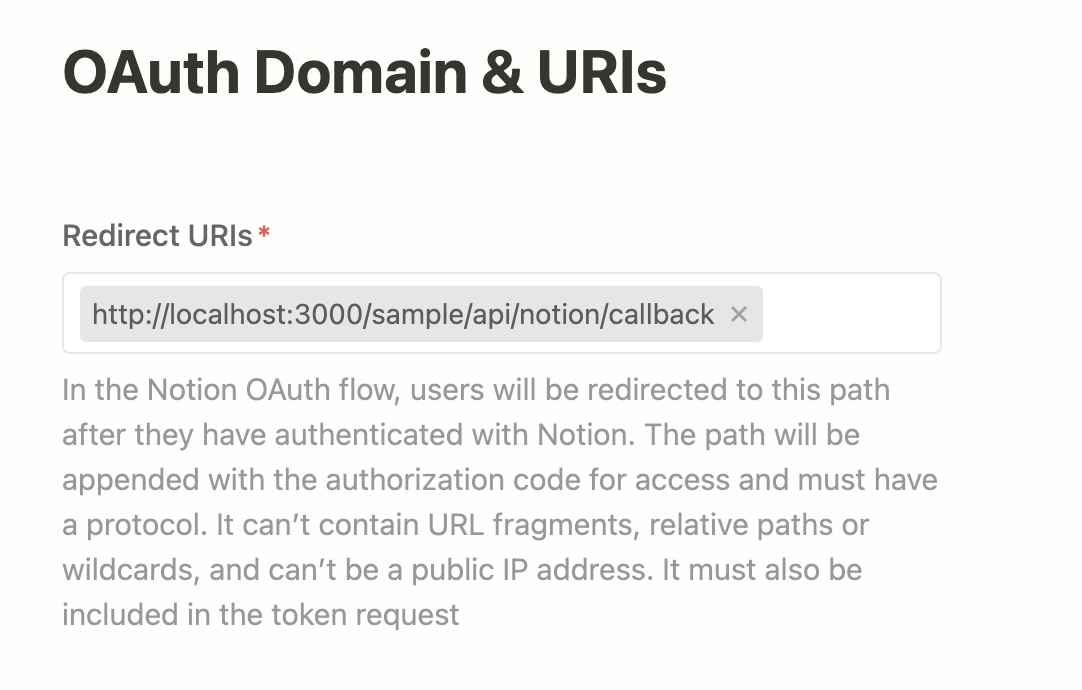
Then, in OAuth Domain & URIs, specify the URL to which the user will be redirected after OAuth authentication.
Once the public integration has been created, the Secrets required to use the API will be available, and these will be used in the application.
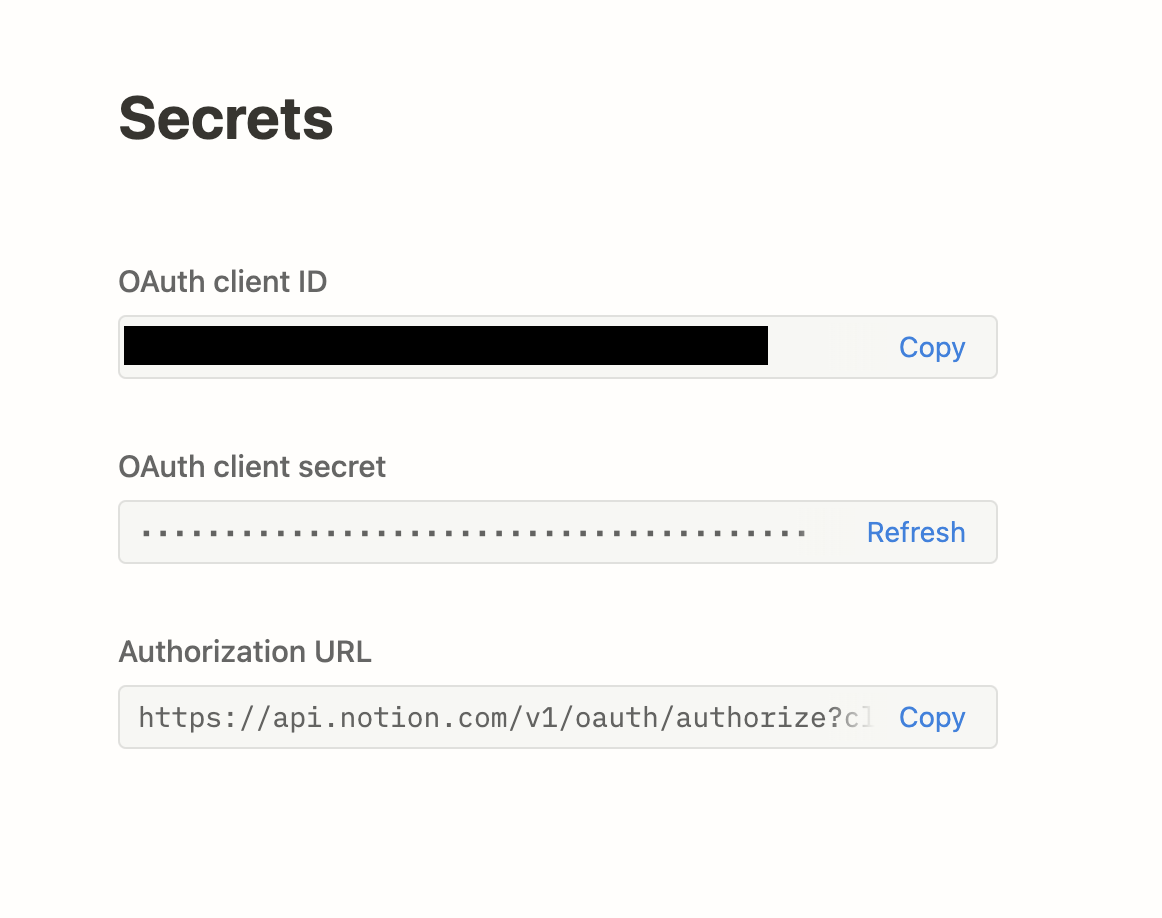
To move to the Notion authentication screen, use a URL with a query-string as shown below.
https://api.notion.com/v1/oauth/authorize?client_id={OAuth client ID}&redirect_uri={Redirect URIsに指定したURL}&response_type=code&owner=user&state={CSRF対策token}
When the URL is accessed, the authentication screen will appear as follows.
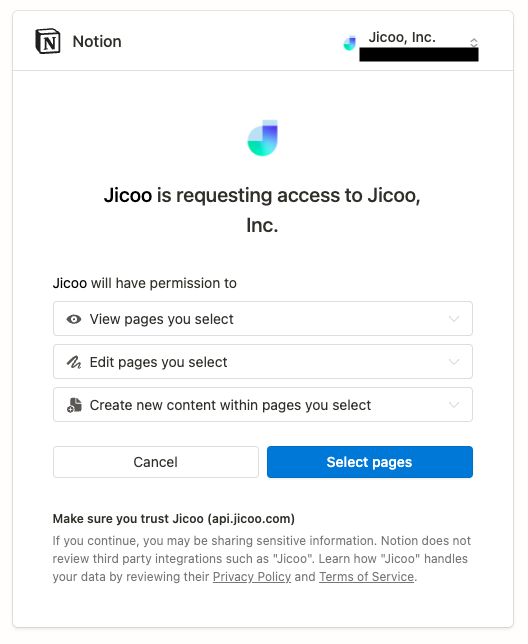
Press Select pages to move to the next screen, where you will be asked to select which space in Notion you wish to grant access to.
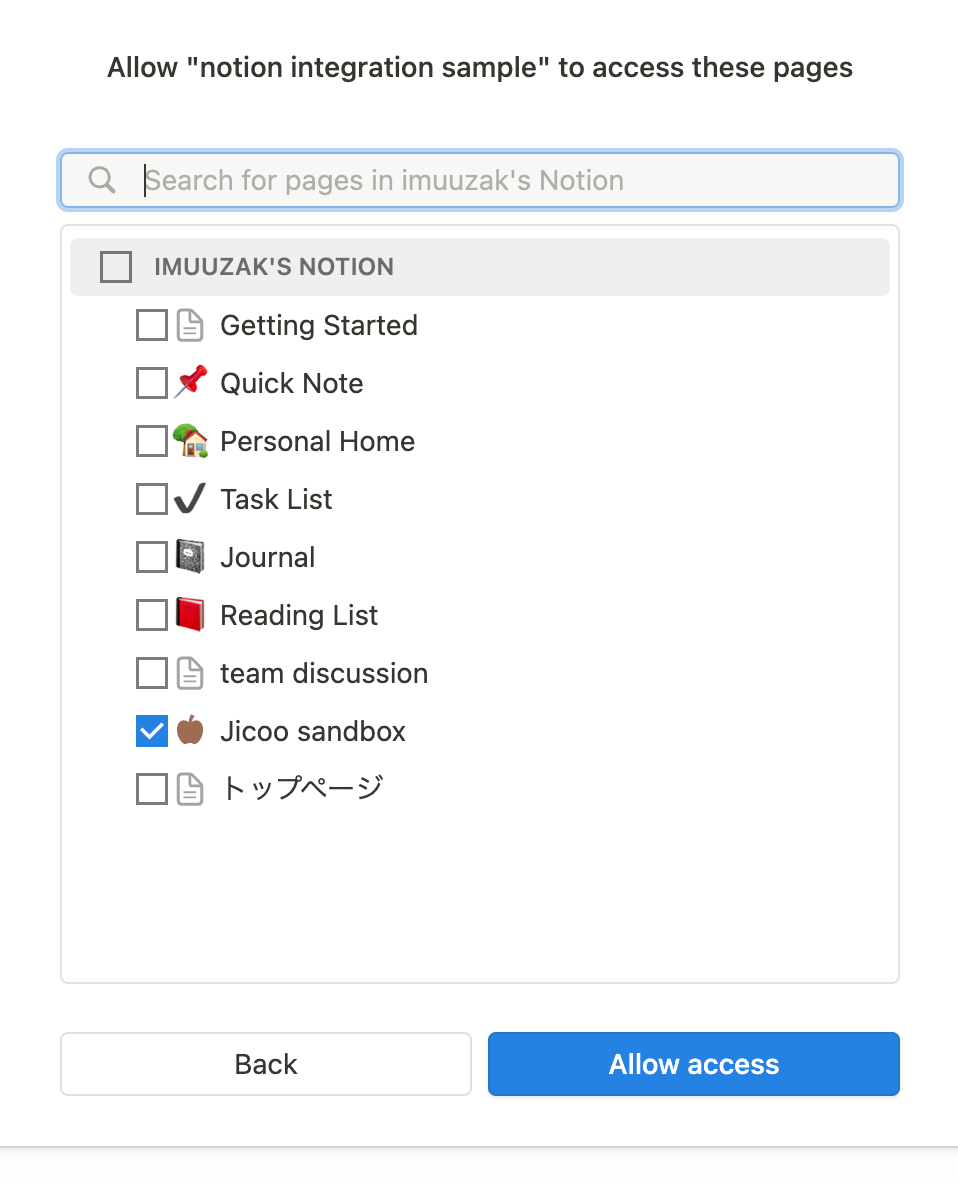
When Allow access is pressed, the user is redirected to the URL specified in redirect_uri and the process returns to the application.
When redirected, the value given to the query-string and the client_secret are used to obtain the access_token.
const clientId = 'xxxxxxxxxxx';
const clientSecret = 'xxxxxxxxxxx';
const { code } = req.query;.

// base64 encode the string "clientId:clientSecret
const credential = Buffer.from(`${clientId}:${clientSecret}`).toString(
  'base64',.
);
// Specify headers for Basic authentication
const headers = {
  Authorization: `Basic ${credential}`,.
}; }

const body = {
  grant_type: 'authorization_code', {
  code, }; const body = { grant_type: 'authorization_code', }
  redirect_uri: redirectUri, }
}; }

const result = await axios.post('https://api.notion.com/v1/oauth/token', body, {
  headers, }
});

const {
  access_token, }
} = result.data; const { access_token, }
The client library provided by notion is used to handle the Notion API thereafter. @notionhq/client
Use the accessToken obtained when newing the Client.
import { Client } from '@notionhq/client';

const notionClient = new Client({
  auth: access_token,
});
This is the Notion OAuth flow.
The flow up to this point can also be found in the following official documentation
https://developers.notion.com/docs/authorization
Select Notion database
The following process searches for a database to be linked to and refers to the contents of the database.
search for database.
const notionClient = new Client({
  auth: access_token, }
});

const query = 'title search string';
const params = {
  query, { query
  sort: {
    direction: 'ascending', timestamp: 'last_edited_time', { query, sort: { query
    timestamp: 'last_edited_time', }
  }, }
  filter: {
    property: 'object', value: 'database', }, filter: {
    value: 'database', }, filter: { property: 'object', value: 'database', }
  }, filter: { property: 'object', value: 'database', }
  page_size: 100, }
};
const searchResult = await notionClient.search(params);
const databases = searchResult.results;
Get the contents of the database.
const notionClient = new Client({
  auth: access_token, }
});

// ID of the stored Notion database.
const id = storedNotionDatabase.id;
const {
  id, title, title, title, title, title, title, title, title, title, title, title
  title,
  url,
  properties, }
} = await notionClient.databases.retrieve({
  database_id: id, }
});
create notion page.
const notionClient = new Client({
  auth: access_token, }
});

// ID of the stored Notion database.
const id = storedNotionDatabase.id;
const pageProps: CreatePageParameters = {
  parent: {
    database_id: id, }
  },.
  // Contents of property
  properties,.
  // description of the page
  children: [
    {
      object: 'block', }
      heading_1: {
        rich_text: [
          {
            text: {
              content: 'heading1', }
            }, }
          }, }
        ], }
      }, }
      {
        object: 'block', {
        to_do: {
          rich_text: [
            {
              type: 'text', to_do: { rich_text: { rich_text
              text: {
                content: 'action1', }
              }, }
            }, }
          ], }, }, }
          checked: false,
          color: 'default', }, }
        }, }
      }, }
    }, }
  ], }
}; }

const {
  id, title, title, title, title, title, title, title, title, title, title, title
  title,
  url,
  properties, }
} = await notionClient.databases.create(pageProps);
Summary
The Notion API enables the seamless creation of notion pages as needed.
The Notion API also allows for a high degree of freedom in the content of the Notion page, making it possible to automate the creation of complex pages that would otherwise take a lot of time and effort to create manually.
We are looking for members who can develop together with us!
Jicoo is actively recruiting engineers, so if you are interested in an environment that actively invests in new technology and you want to work hard from the planning stage, please apply!
If you are interested in working with us as an engineer, please check here. Please check here if you are interested in working with us as an engineer. https://www.jicoo.com/careers